|
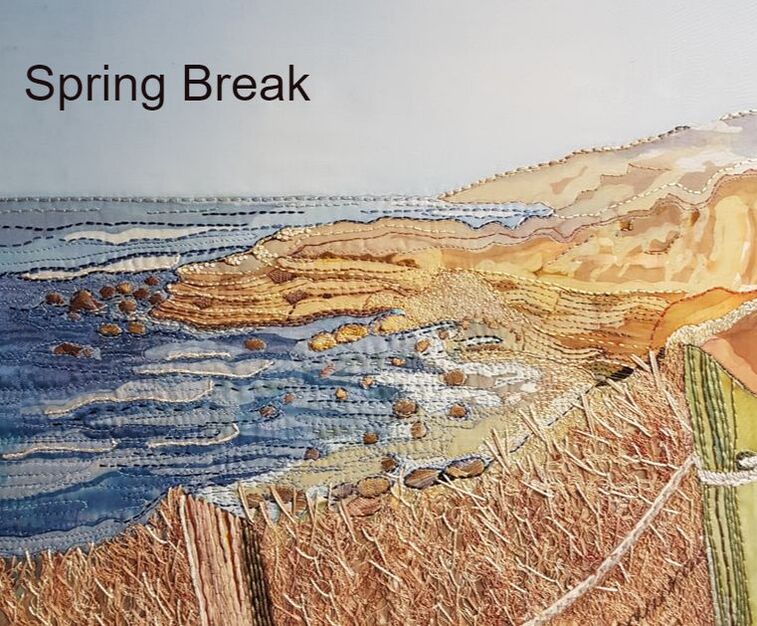
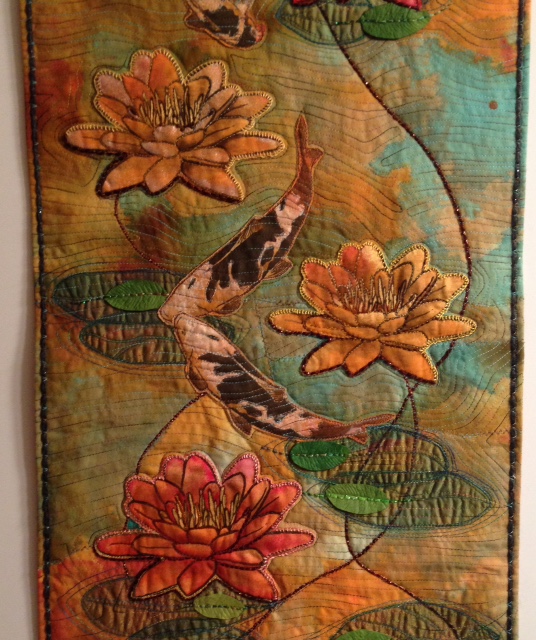
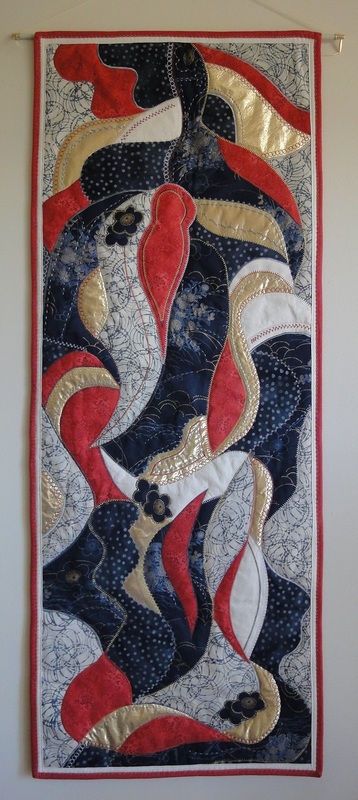
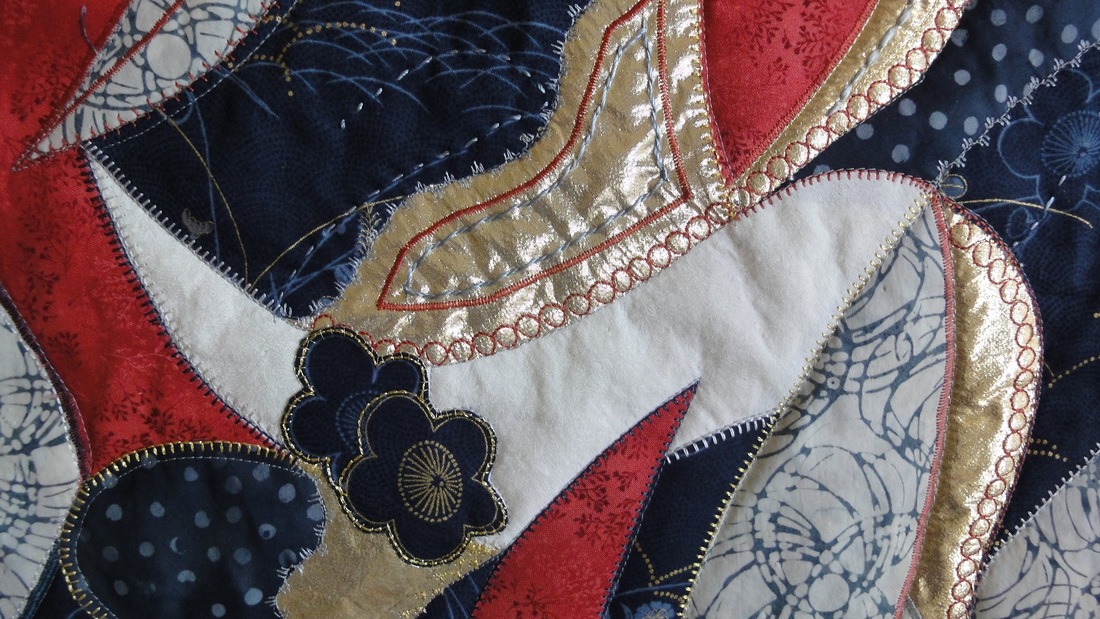
You'd never know it! Snowing like crazy outside and has been for 2 days. I have finished my entry to this year's Cherry Blossom festival exhibit. Photos need to be submitted by February 17th. Hopefully it will be accepted. I will show you a snippet.
0 Comments
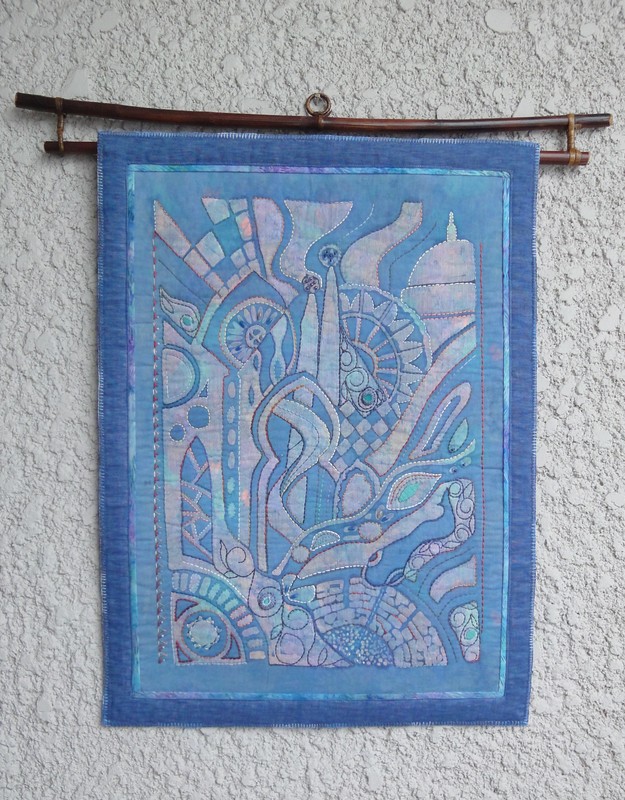
Finally finished my compilation of shapes and lines from my trip to Spain and Italy. I used the indigo batik from the summer as the foundation and underlined it with a multicolored fabric in my stash. I outlined and embroidered in many colors for detail.
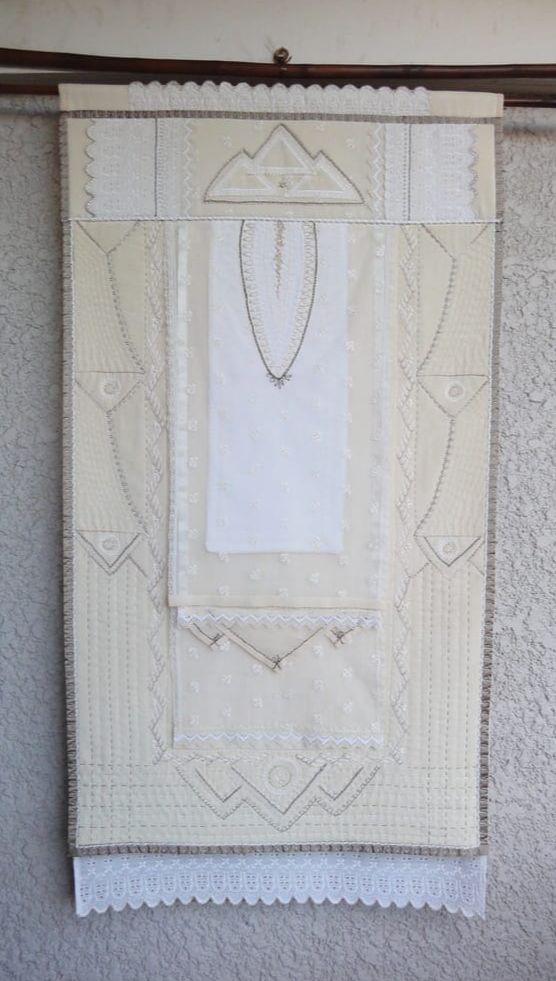
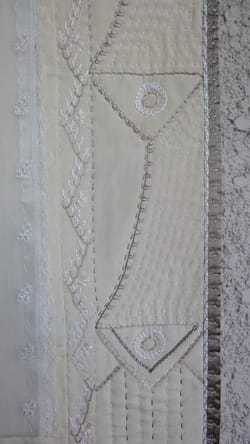
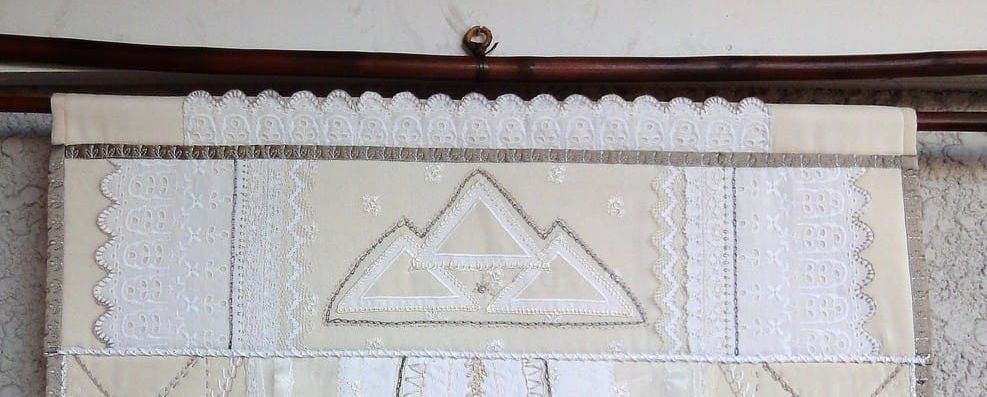
I have been busy with life so my main textile project this fall was making a wall hanging from a 1920's wedding dress! My friend Jean allowed me to take apart her grandmother's dress that had been sitting in a box for decades. It was a simple cream silk habotai dress with a cotton eyelet petticoat and lining. It had a very simple tule veil with an opening for a band. There was some delicate embroidery around the collar points and the veil opening done in a metallic thread that had tarnished to a pewter color. I managed to save some of the details and the lace trim. It was fun to research design elements of the 1920 Art Deco era to use in my design. I wanted to maintain the layered nature of the garment so I created several layers in the design that would move as the air around the piece moved. The materials are mainly from the original ensemble. I added my own embroidery in silk and cotton threads, some taupe dupioni silk for contrast and a bit of lace from my stash (some two tone cotton lace from London, England!) It was difficult to photograph so I tried on my balcony. The bamboo rod is only temporary as Jean will use a more suitable metal rod.
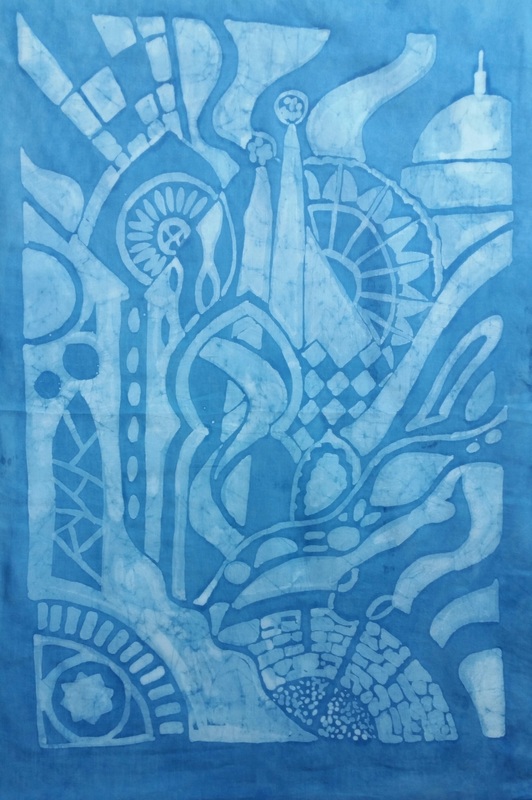
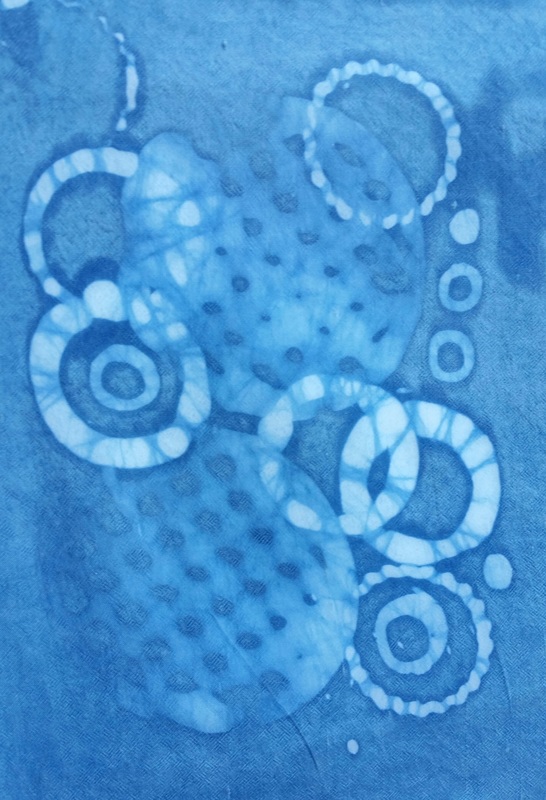
The title Layers of a Marriage seemed appropriate. My recent trip to Spain inspired me to create a project using lines and shapes from the incredible architecture. I also wanted to practice batik techniques using soy wax. I dyed the waxed fabric in indigo to establish a foundation for a this new creation. I only dipped the fine cotton/silk fabric once and the color was great. I wondered if the wax would come off in the vat but I was pleasantly surprised that it held up well. I could have dipped it more than once as long as I was careful not to stir it around. There will be much more done to complete this project but I am happy with the beginning (18 x 24 inch) image.
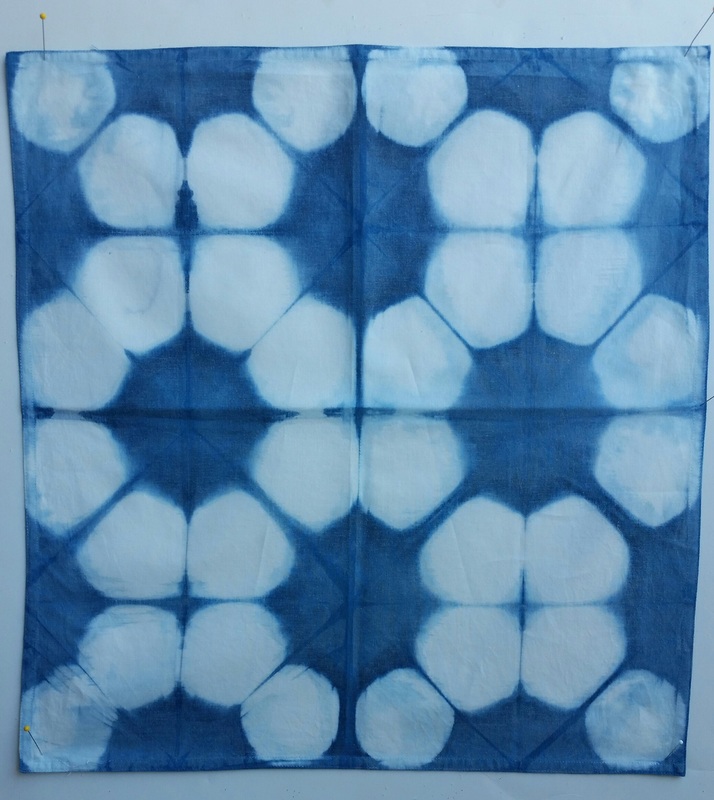
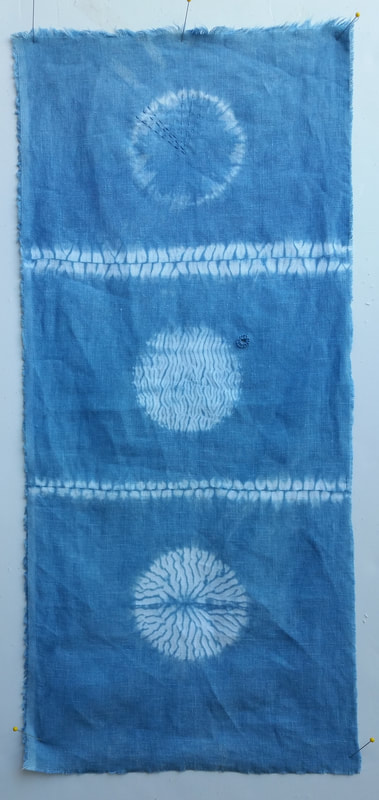
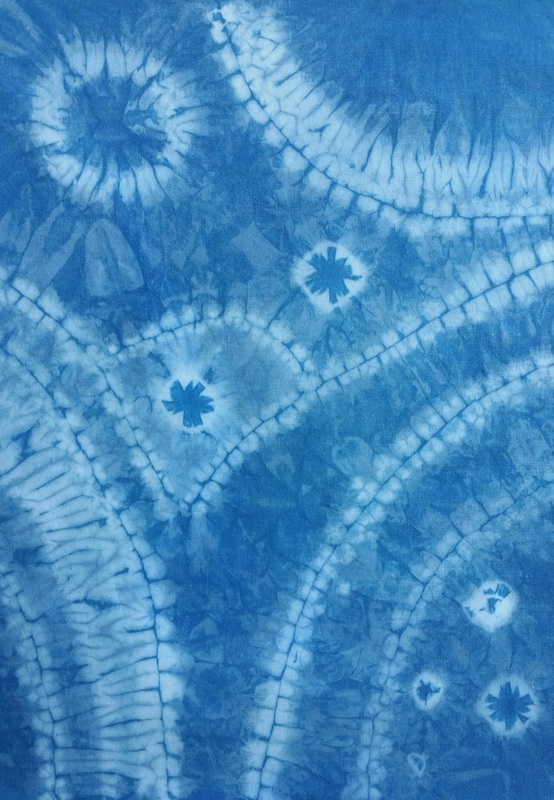
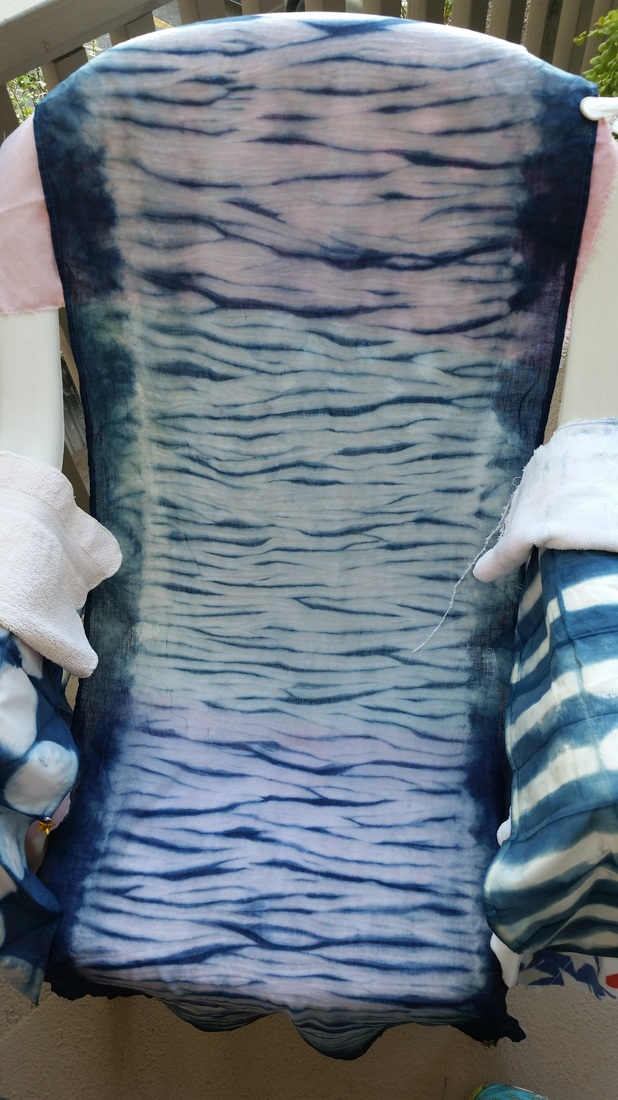
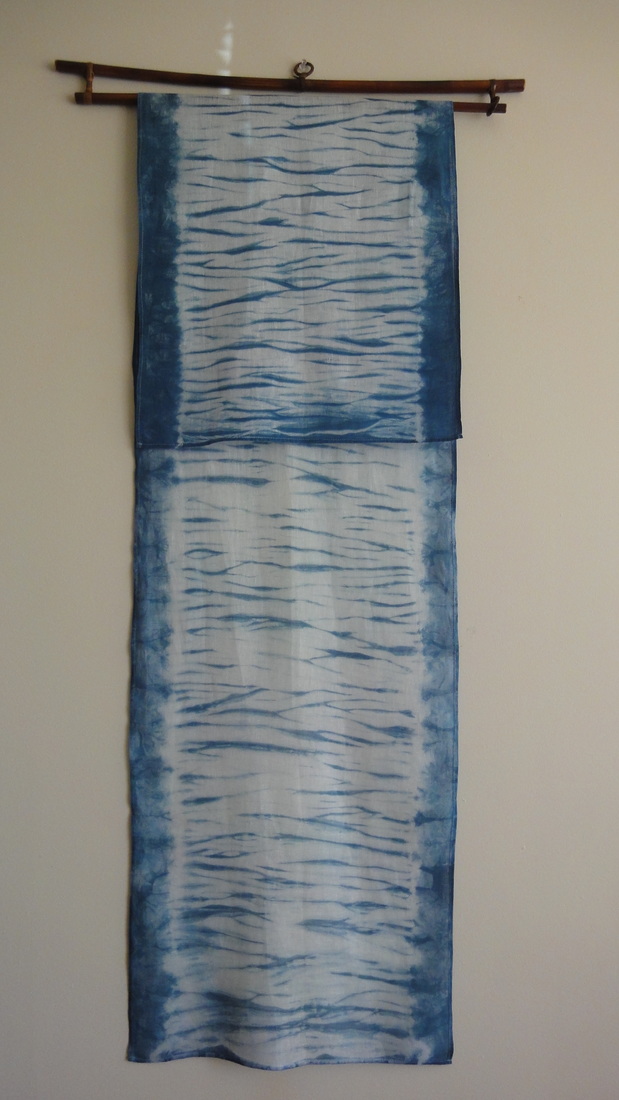
I have been wanting to do some indigo dying for a long time. It is very popular right now but in the 70's I did a little natural dying as part of a textile design course at university. Indigo was the big deal then and there was this mystique around preparing the vat and whole dying process. Simon Fraser University offered a seniors' continuing ed. course this spring on the history of indigo and a dying workshop to accompany it. I was in!! The history was fascinating and the workshop gave me an opportunity to try various shibori techniques, get the inside scoop on creating the dye bath and all the details on the dying process. I was able to experiment with some soy wax batik too. Jean Kares is a fantastic instructor, knowledgeable and experienced. With each dip into the dye bath the blue color darkens. I only had time to dip my pieces twice as I wanted to try several techniques and fabrics. Here are some results: This was a clamping technique, very easy and effective. Above are 3 different shibori circles, two straight line techniques, a few sashiko embellishment stitches and one tiny creative repair technique! Lesson learned to be careful with the stitch ripper when removing shibori stitches. Pole dying on a gorgeous piece of fine linen I got in Italy! This is such an easy technique. Here it is drying on my deck before I washed out the excess indigo. The end result was about 2 shades lighter. One side is lighter than the other. In this photo it is a hanging but right now I am using it as a table runner.
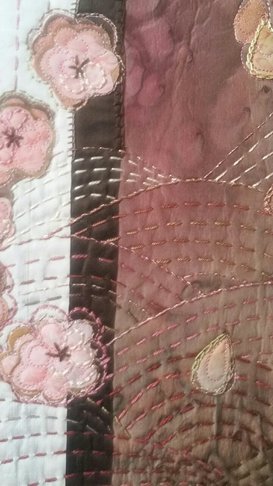
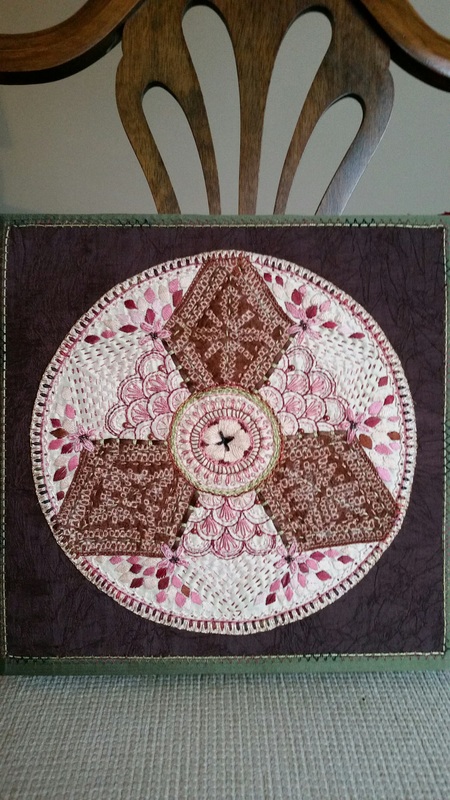
It is Cherry Blossom time again and I have another piece exhibited at the Silk Purse in West Vancouver until April 10. Here it sits on a chair before being delivered. I was inspired by mandalas and Japanese imagery so decided to put the two together. I found a small remnant of brown shibori silk at Quilters Dream that worked perfectly into my theme. Hand embroidery is my love at the moment so only the mounting is done by machine. In this exhibit there are new interpretations of this theme that amaze me. I hear the gallery is slated to be demolished so this could be the last cherry show there! A shame.
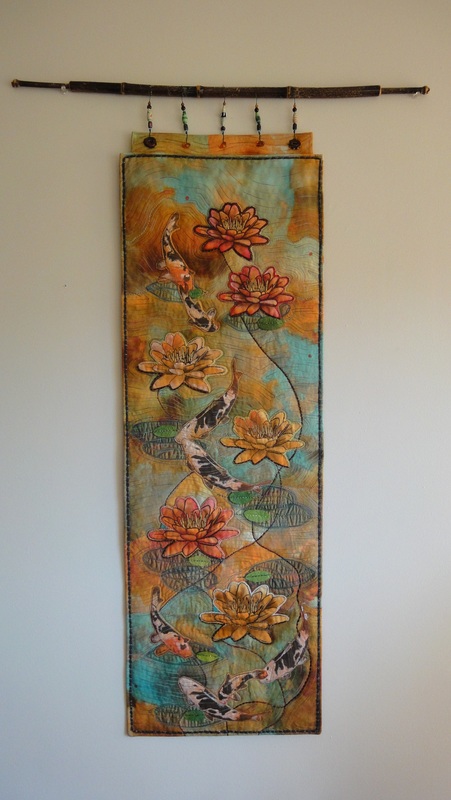
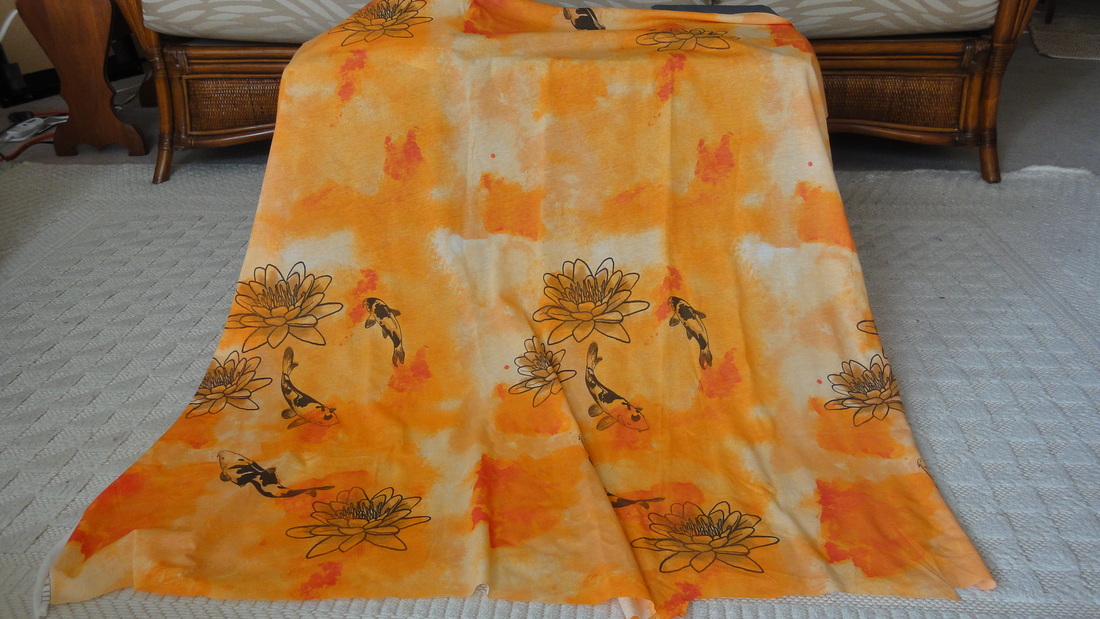
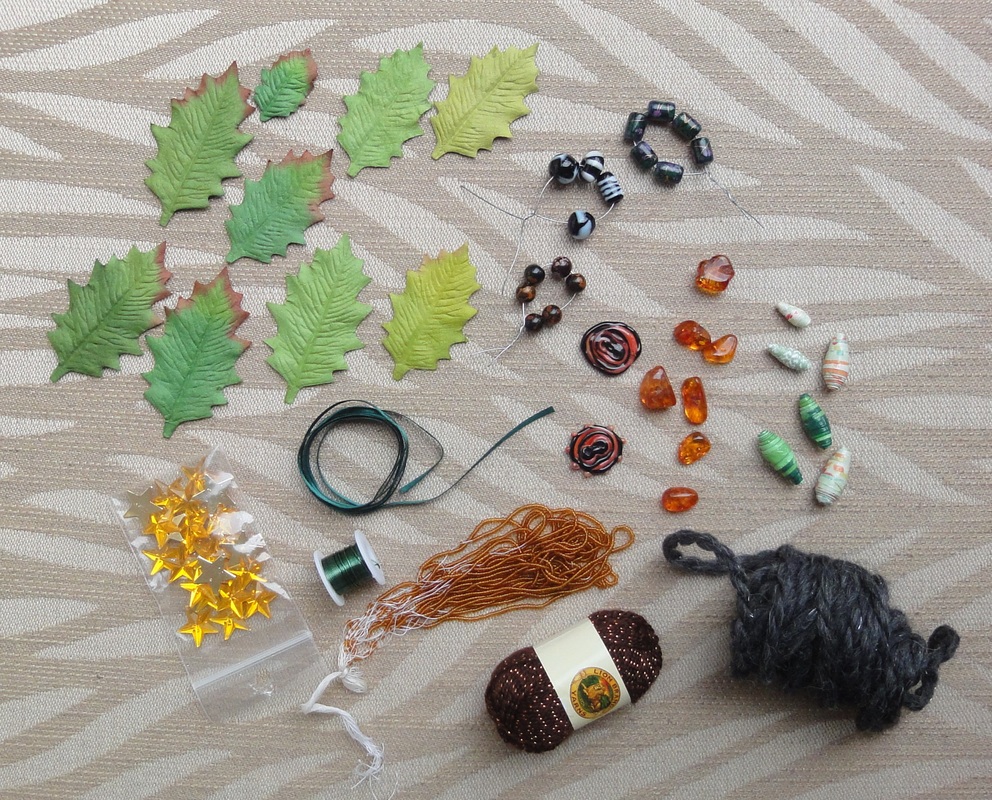
I painted the fabric to tone down the orange and yellow. After cutting out the images I played with them to find an arrangement I liked. The remaining fabric got cut up and then joined back together to make a foundation. After machine and hand embroidery, I lightly quilted the fabric. The grey wool made a great edge trim. The beads and green wire became hangars. I had some lovely King Tut variegated threads in my stash, some cotton batik and green sheer fabric to add. Those little gold stars were a puzzle but I ended up using them to secure the hangers on the back. The bit of green ribbon edged the label! I fulfilled all the requirements of the task. Whew. Lots of fun and a stretch of my creativity.
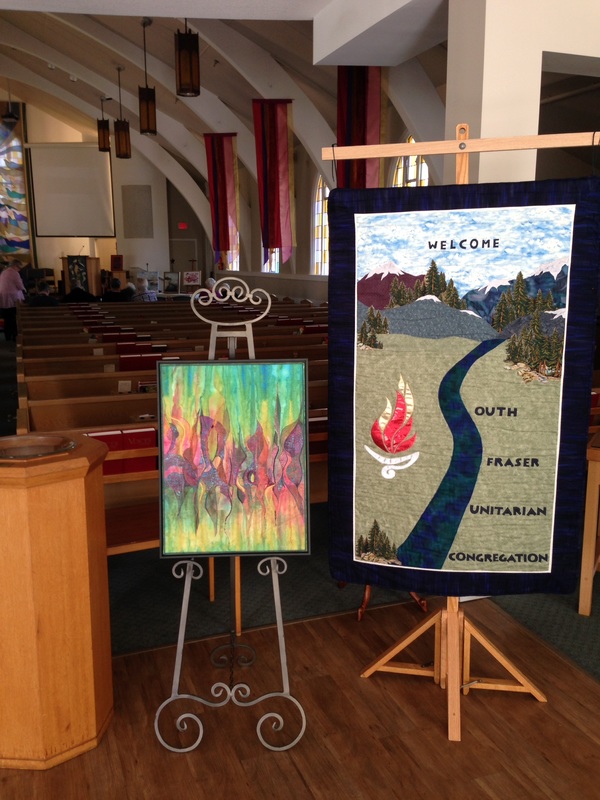
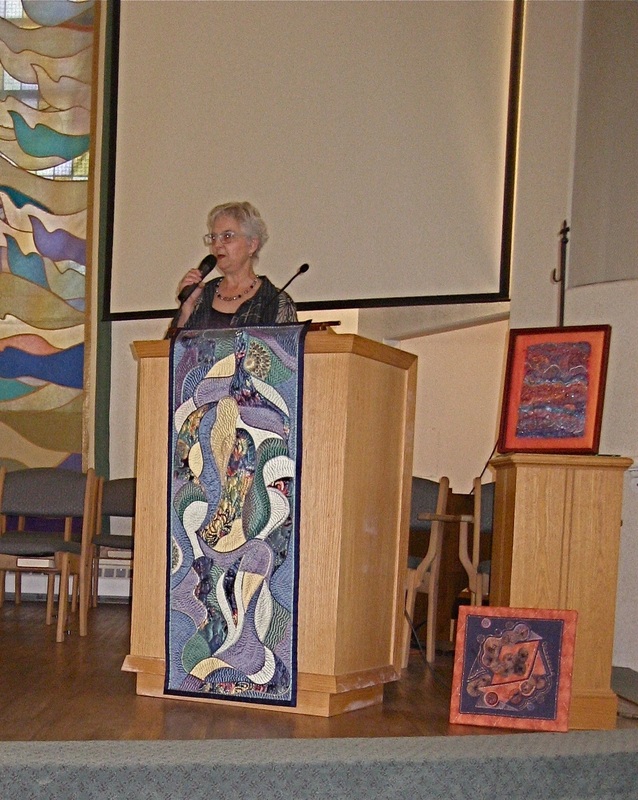
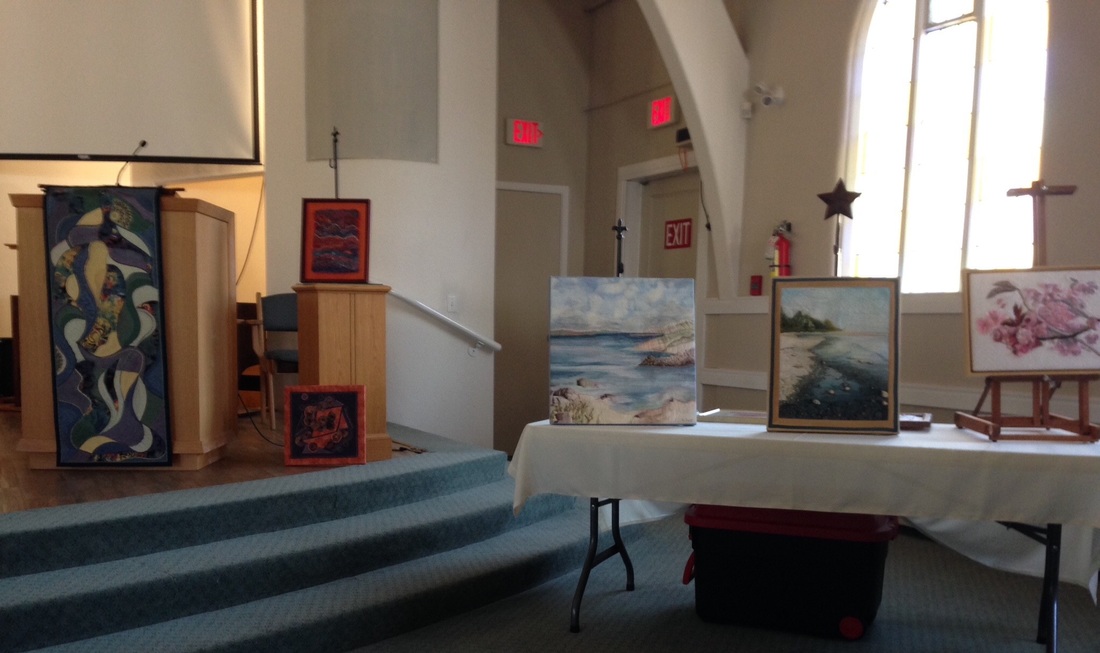
I was asked by South Fraser Unitarian church to bring some of my art and talk about how I came to be a textile artist. This is the third time I have spoken to a group about this. Each time I have found it rewarding as my story seems to resonate with many people in the audience. My hope is that the listeners will be inspired to jump into their own creative process in spite of fears and judgments they might have. The preparation for this talk got me reflecting on the reasons why I make art and how I was influenced to get where I am today. I find it interesting that these opportunities to speak have come my way without any search on my part. My mom was my original advocate and then one led to another! In the first photo the welcome hanging on the right was made by my Mom. The picture on the left is mine.
Where did September go! I know; film festival, craft conference, company, sunshine. At the October meeting of the VGFA some of our members, me included, brought a brown bag with some specified items in it. The items are to be used to create a piece of art to be brought to our last spring meeting. We each took someone else's anonymous bag and now have a bunch of goodies to use to make our project! I am loving this! When I first looked at the fabric in the bag I puzzled about what I could do with it. The possibilities have been rolling around in my head ever since. Here are the bits I received.
|
|
 RSS Feed